Uninstallation
Uninstallation Connector
Uninstallation of the UCCE connector is fully integrated into the DW administration application.
For more information, please reach out to 2Ring via support contacts listed on the 2Ring website at https://www.2Ring.com/contact.
Uninstallation Connector Windows Service
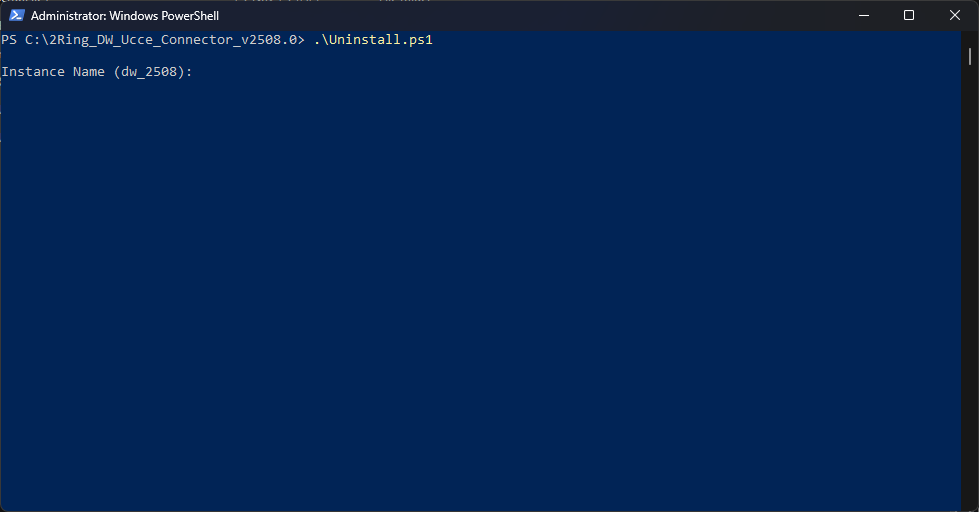
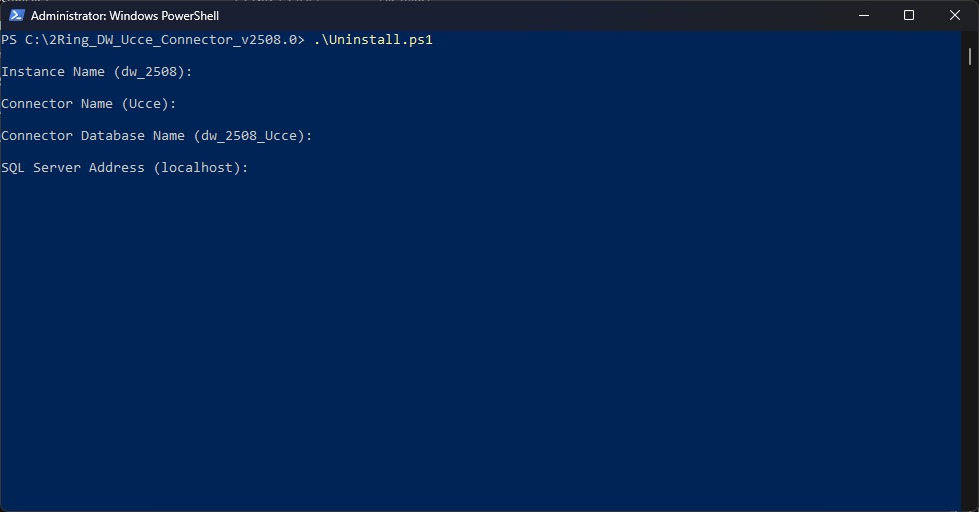
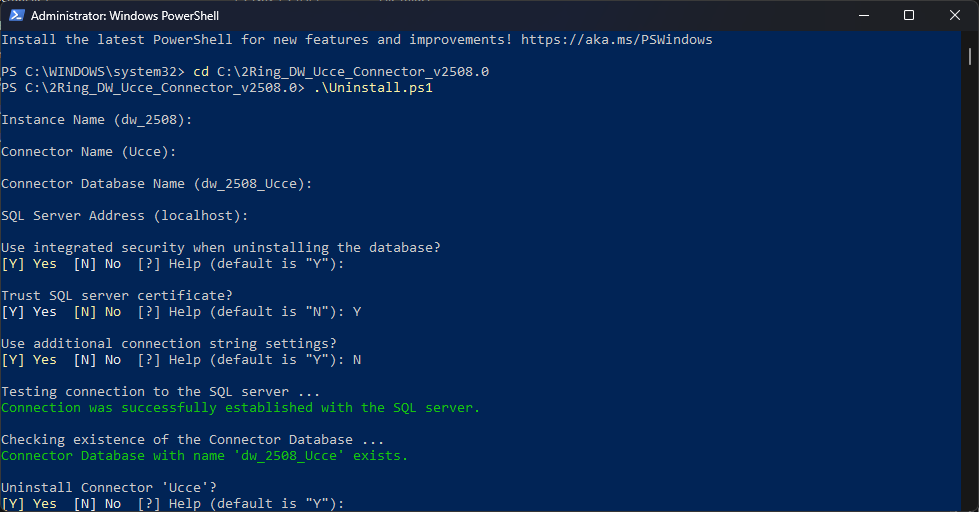
To uninstall the connector windows service, navigate to the connector installation package and run uninstall.ps1 as Administrator.
Enter the 2Ring DW application instance name.
Figure 1: Connector Windows Service Uninstallation
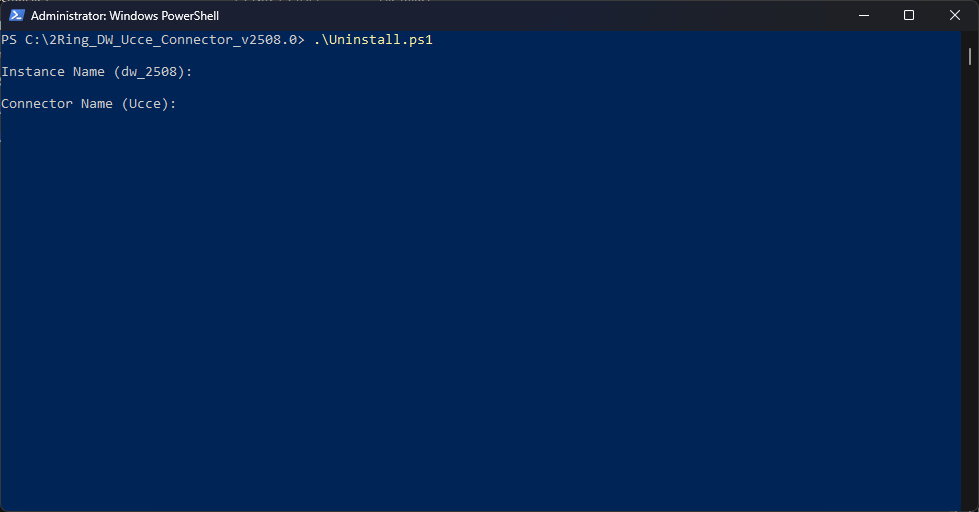
Enter the connector name.
Figure 2: Connector Windows Service Uninstallation
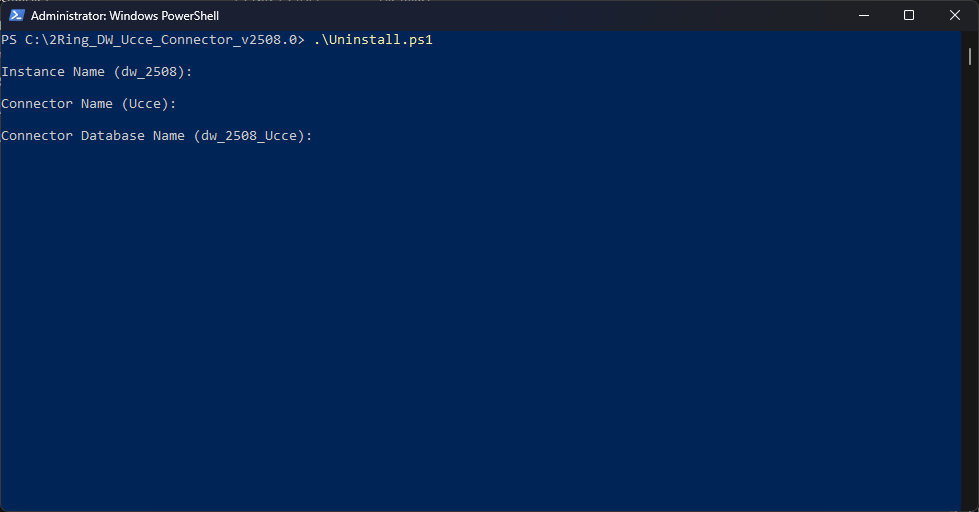
Enter the name of the database used by the connector.
Figure 3: Connector Windows Service Uninstallation
Enter the server address of the SQL server.
Figure 4: Connector Windows Service Uninstallation
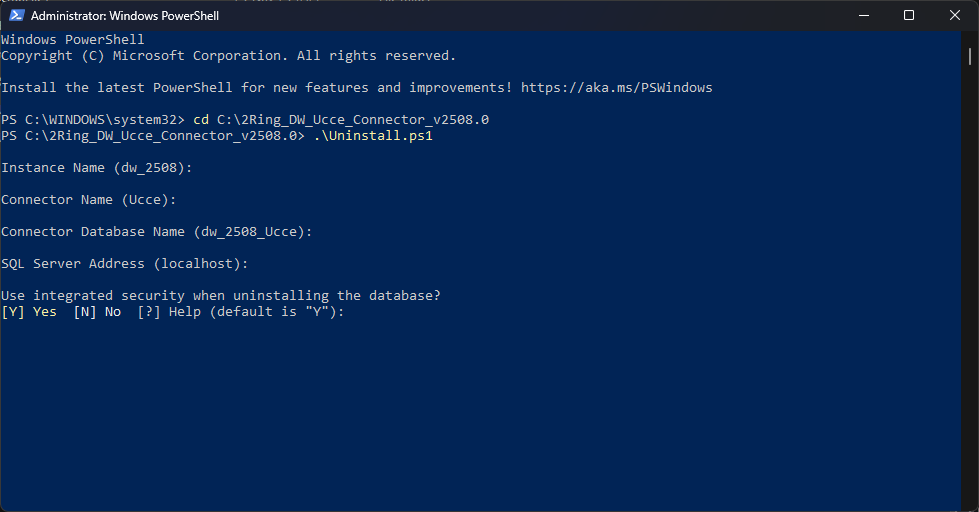
Choose whether an integrated security should be used when uninstalling the database.
If “Yes” is chosen, windows credentials are used for the installation purpose.
If “No” is chosen, an Administrative database user and a password has to be provided. This user is used for running the uninstallation.
These credentials are only used during the uninstallation process and are not stored anywhere. The SQL Server login must have sysadmin rights. Figure 5: Connector Windows Service Uninstallation
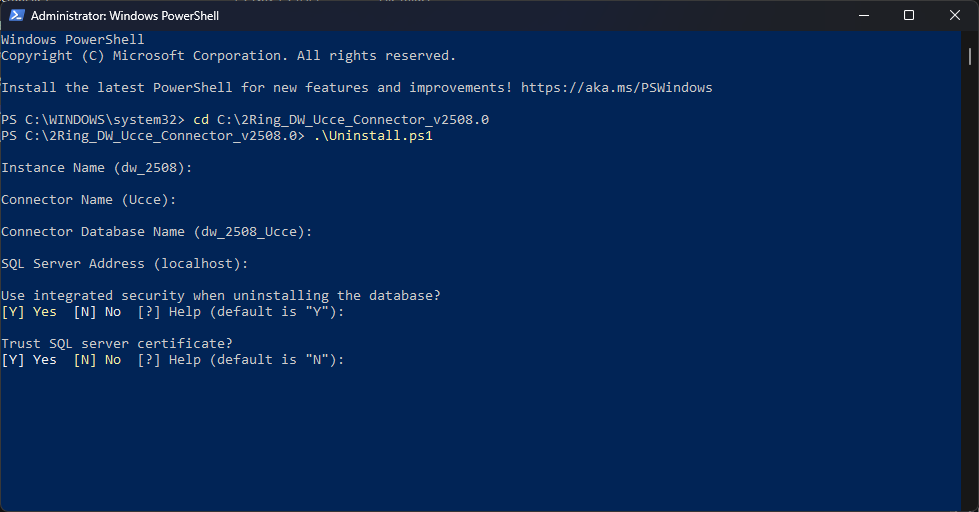
Choose whether SQL certificate should be trusted.
If you choose not to trust the SQL certificate, make sure that it is located in the Trusted Root Certification Authorities folder on the system the uninstallation script is running from. Figure 6: Connector Windows Service Uninstallation
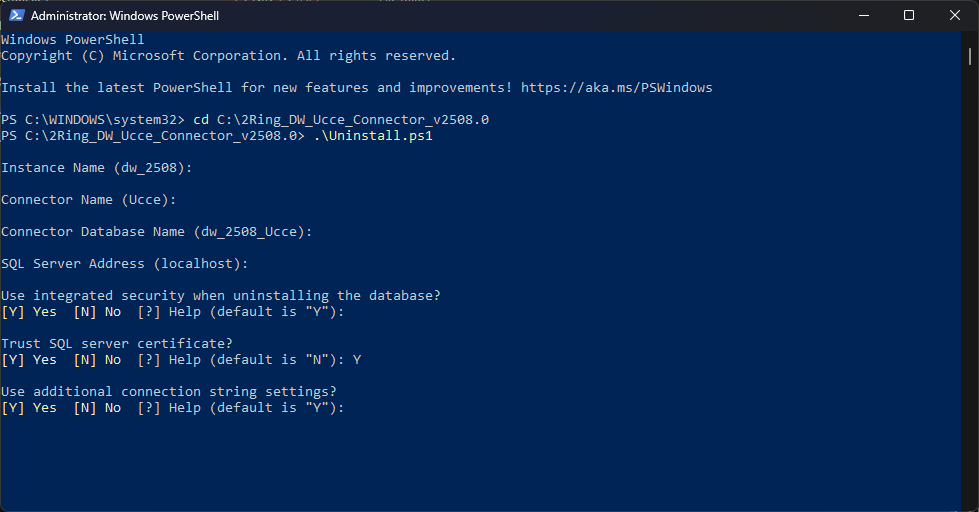
Choose whether to use an additional connection string settings for a database connection.
If “Yes” is chosen, define the additional connection string settings.
Figure 7: Connector Windows Service Uninstallation
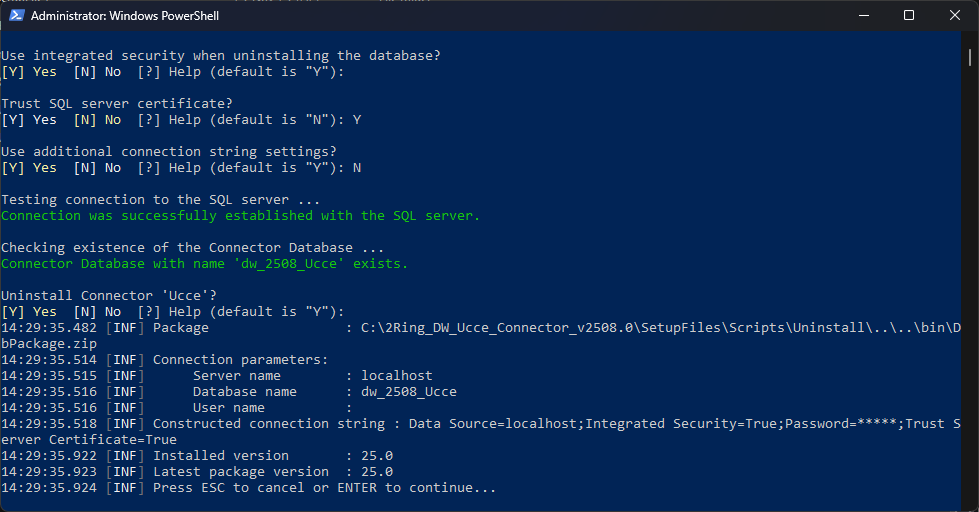
Choose, whether you want to uninstall the UCCE connector.
Figure 8: Connector Windows Service Uninstallation
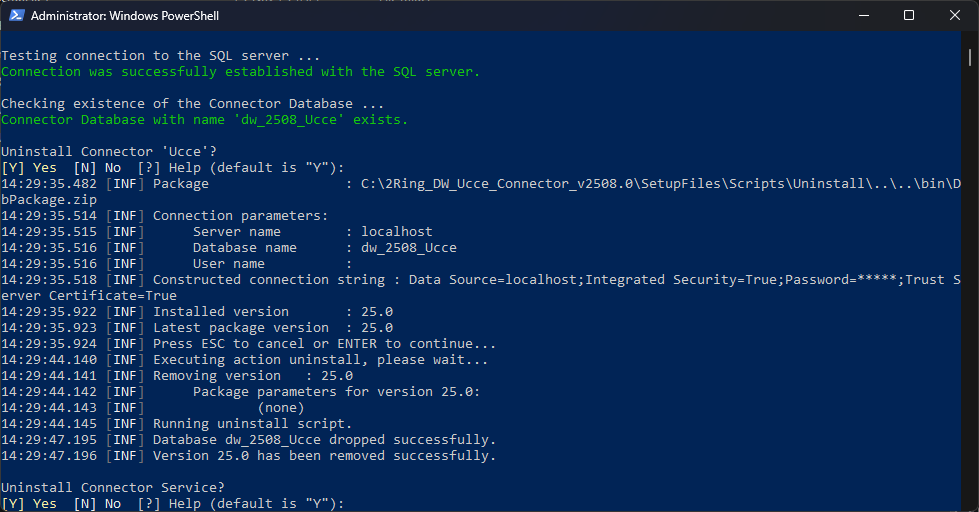
Confirm the uninstallation by pressing the ENTER key.
Figure 9: Connector Windows Service Uninstallation
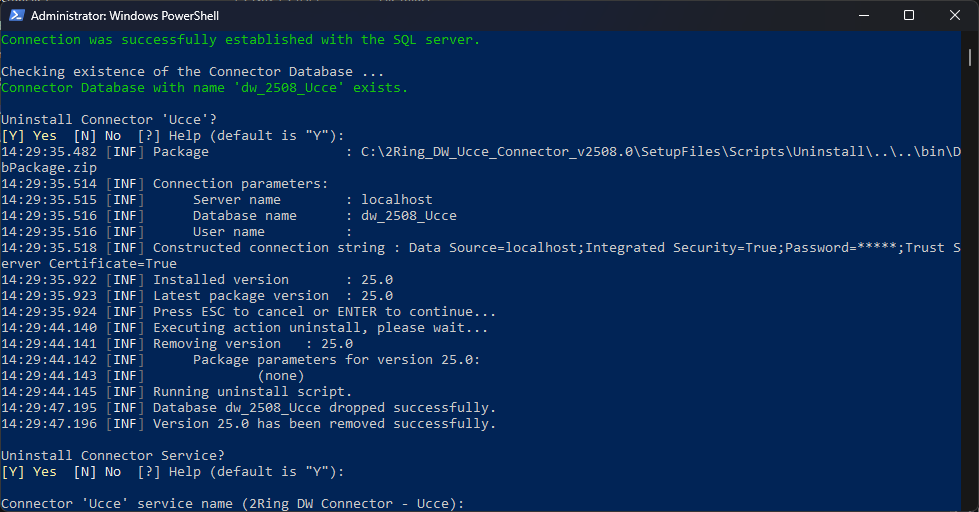
Choose, whether you wan to uninstall connector windows service.
Figure 10: Connector Windows Service Uninstallation
Provide the name of the connector windows service.
Figure 11: Connector Windows Service Uninstallation
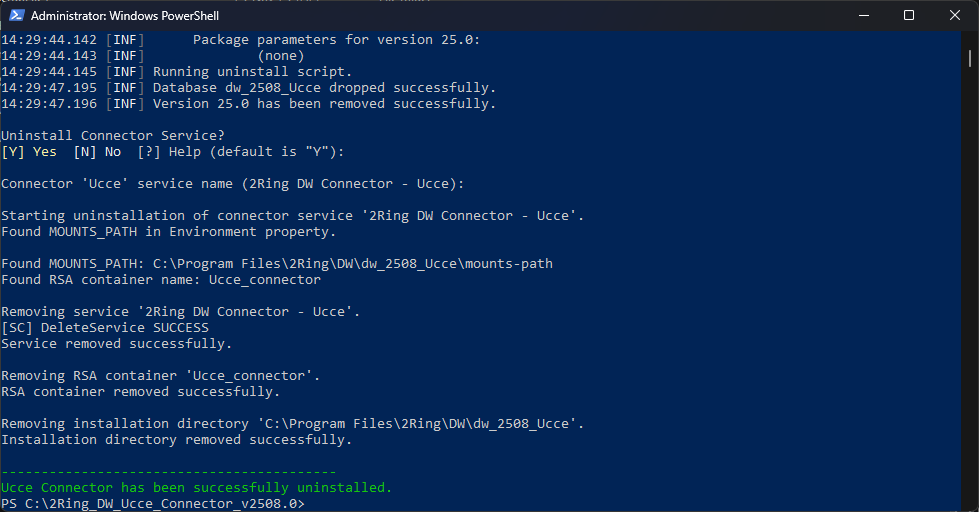
UCCE connector has been successfully uninstalled.
Figure 12: Connector Windows Service Uninstallation