Installation Prerequisites
Before proceeding with the installation, all the prerequisites below have to be installed on the server:
2Ring DW 2601.x
Cisco Unified Contact Center Express (UCCX) version 11.0+
IBM Informix ODBC Driver
Microsoft SQL Server (required for connector Windows service installation) Supported versions are:
Microsoft SQL Server 2016
Microsoft SQL Server 2017
Microsoft SQL Server 2019
Microsoft SQL Server 2022
.NET 9 (Download the latest LTS version of .NET at https://dotnet.microsoft.com/download)
IBM Informix ODBC Driver Installation
To install the IBM Informix ODBC Driver, perform the steps below:
Locate the ibm.csdk.4.50.FC7.WIN.zip file in the downloaded prerequisites. Place the file on each of the SQL servers and extract the contents.
Run installclientsdk.exe
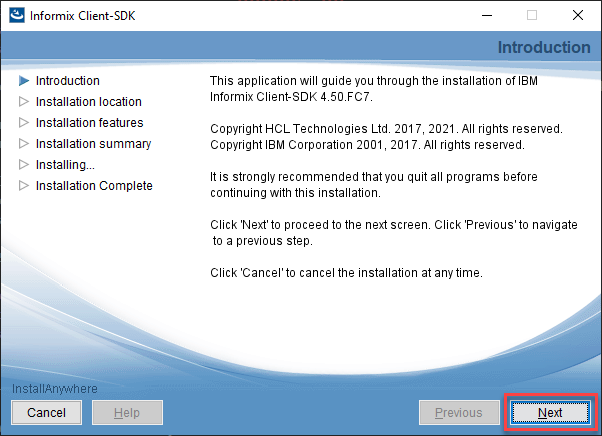
Click “Next” on the Introduction screen.
Figure 1: Introduction screen
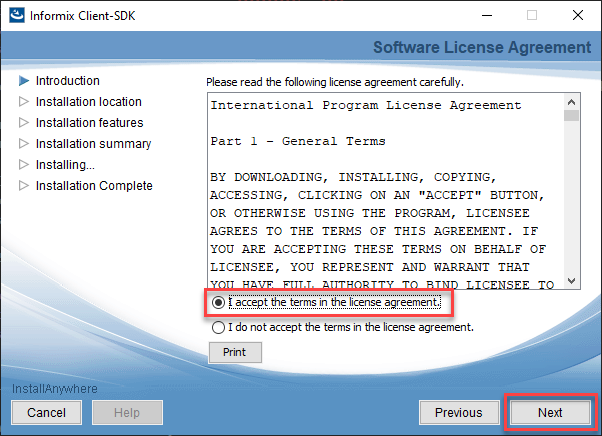
Select “I accept the terms in the license agreement” and Click “Next” on the Software License Agreement screen.
Figure 2: License agreement screen
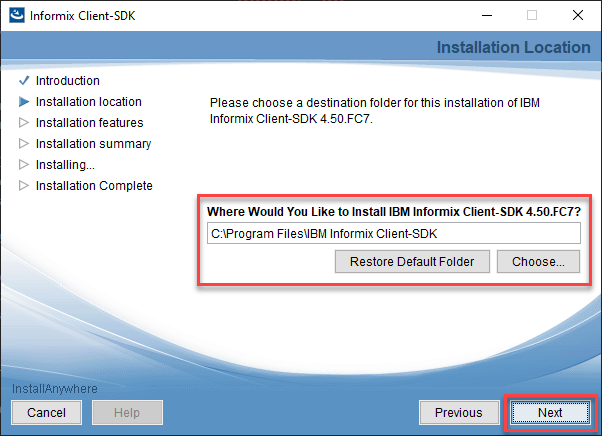
On the Installation Location screen change the directory of the installation if necessary. Otherwise, leave the destination as the default and click “Next”.
Figure 3: Installation location
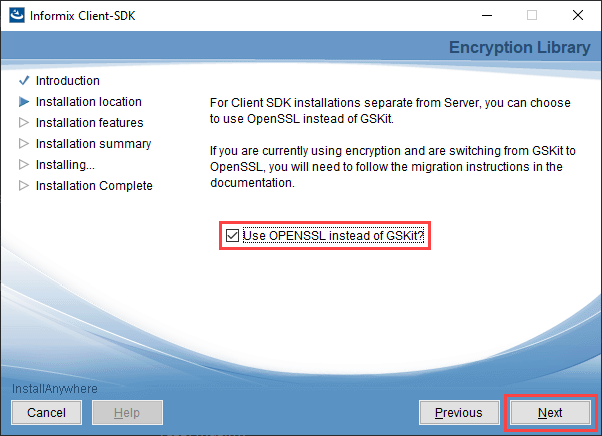
On the following screen, check the “Use OPENSSL instead of GSKit” and click “Next”.
Figure 4: Encryption Library
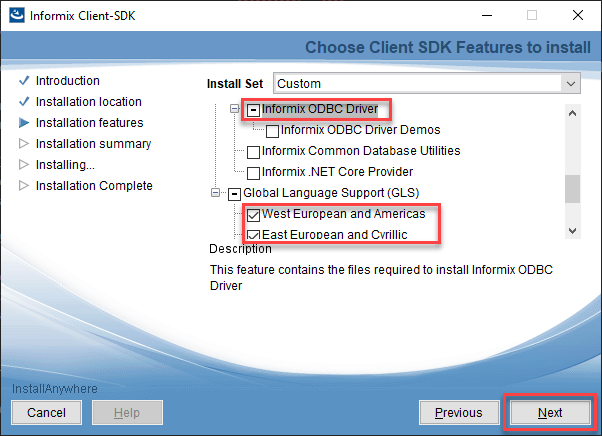
On the Installation features screen uncheck all items except the following and click “Next”.
IBM Informix ODBC Driver
Uncheck IBM Informix ODBC Driver Demos
Global Language Support (GLS)
West European and Americas
East European and Cyrillic
Figure 5: SDK Features
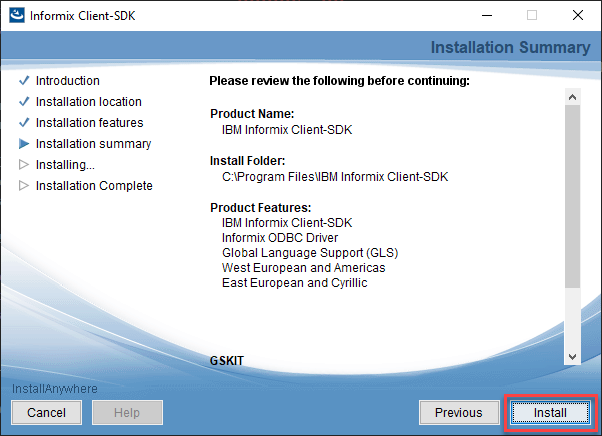
Click on “Install” on the Installation Summary screen.
If a forced reboot is necessary. This is the step at which it will occur.
Figure 6: Installation summary
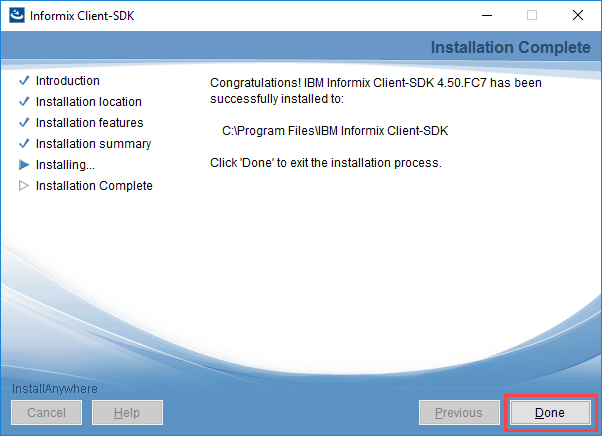
Click on “Done” on the Installation Complete screen to finish the installation.
Figure 7: Installation complete
It is possible, although highly unlikely, that the SQL server will reboot during the install of the ODBC drivers.
ODBC Data Source Creation
Once the driver has been installed, a new ODBC data source has to be created for each UCCX node.
To add a new ODBC data source, follow these steps:
Navigate to Start Menu -> Administrative Tools -> ODBC Data Sources (64-bit)
Open the System DSN tab and click Add
Select IBM Informix ODBC Driver and click Finish
Figure 1: Create New Data Source

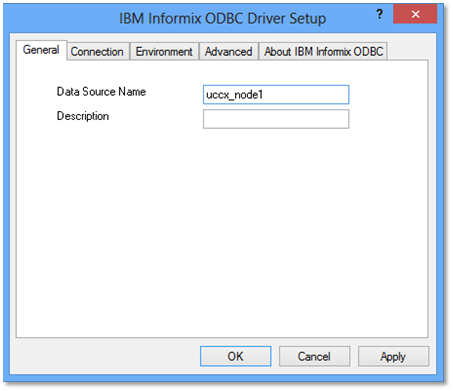
In the General tab enter a Data Source Name
Figure 2: General tab
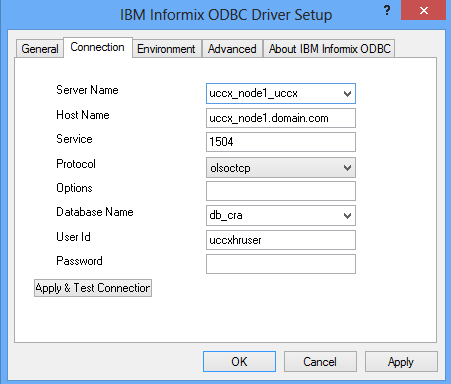
In the Connection tab, several fields have to be filled out:
Server Name - the instance name of the Informix database, which is formed from the UCCX hostname and following conventions:
Convert all upper-case letters to lower case
Replace hyphens with underscores
Add the letter “i” as a prefix to the instance name if the hostname starts with a number
Add “_uccx” as a suffix to the instance name
Host Name – the hostname or IP address of the UCCX
Service – 1504
Protocol – olsoctcp
Database Name – db_cra
User Id – uccxhruser
Password – the password for uccxhruser
Figure 3: Connection tab
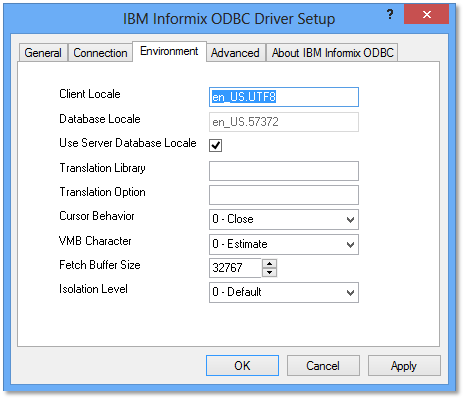
In the Environment tab, make sure the settings are the same as below
Figure 4: Environment tab
In the Connection tab, test connection using Apply & Test Connection button
Repeat for the remaining nodes