Connector Windows Service
Installation
This install script will install connector as Windows service which will be running under virtual Windows account NT Service\\2Ring [instanceName] [connectorName]. Script will also assign this account all required rights and permission needed for this service to run.
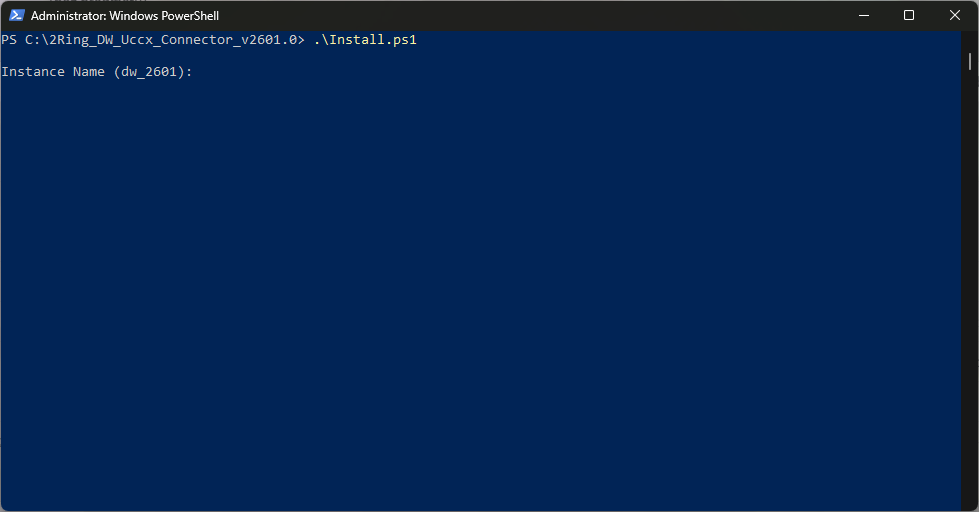
Navigate to the connector installation package and run install.ps1 as Administrator.
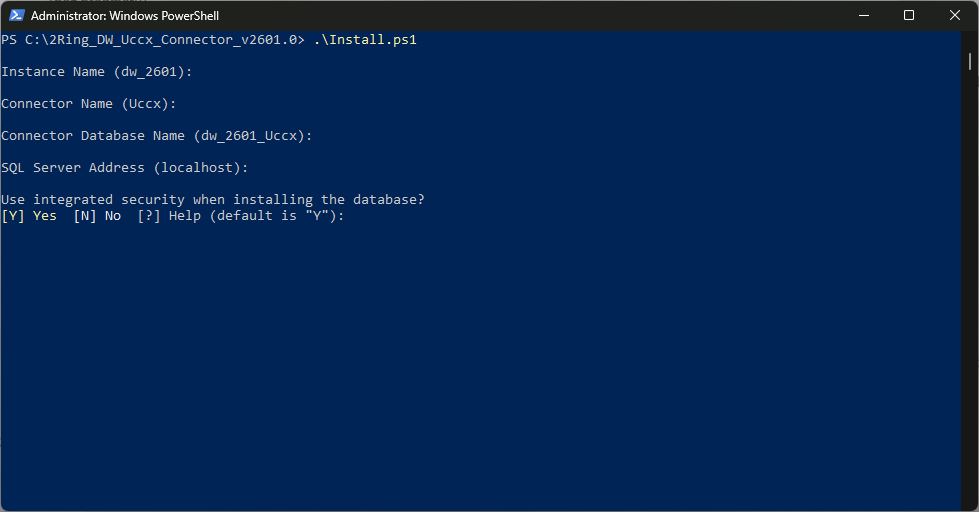
Enter the 2Ring DW application instance name.
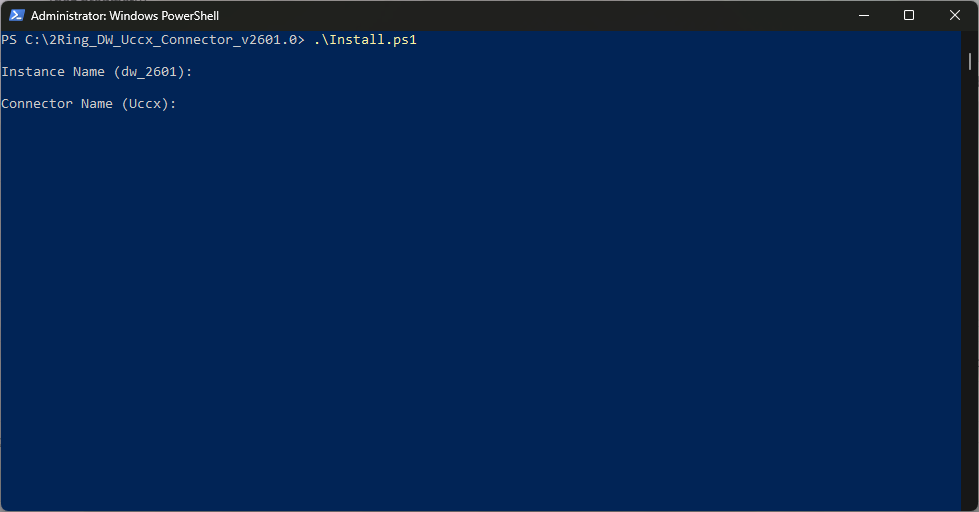
Enter the connector name.
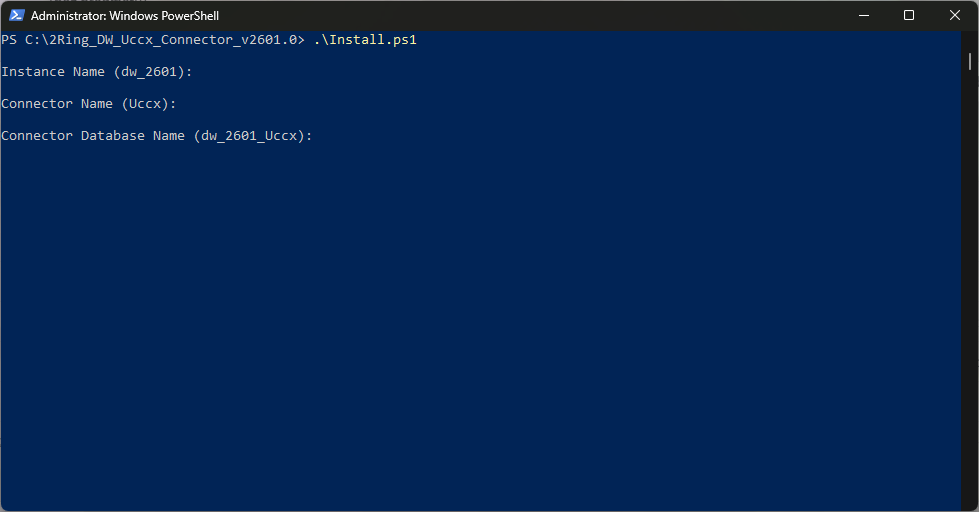
Enter the name of the database that will be used by connector.
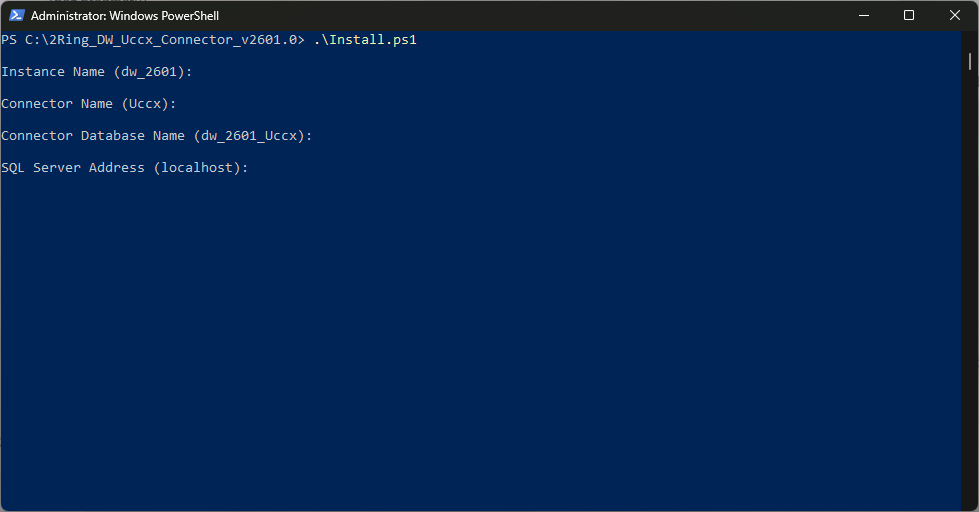
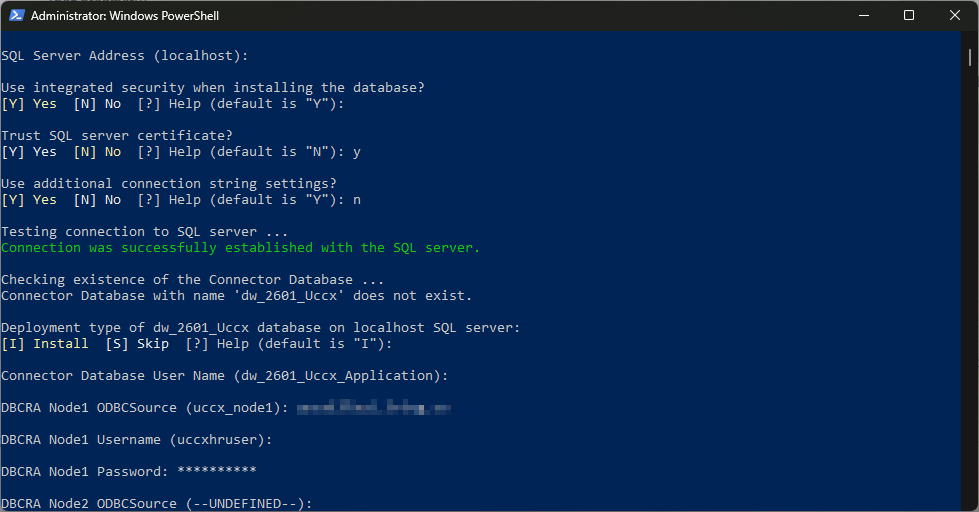
Enter the server address of the SQL server.
Choose whether an integrated security should be used when installing the database.
If “Yes” is chosen, windows credentials are used for the installation purpose.
If “No” is chosen, an Administrative database user and a password has to be provided. This user is used for running the installation.
These credentials are only used during the installation process and are not stored anywhere. The SQL Server login must have sysadmin rights.
Choose whether SQL certificate should be trusted.
If you choose not to trust the SQL certificate, make sure that it is located in the Trusted Root Certification Authorities folder on the system the installation script is running from. 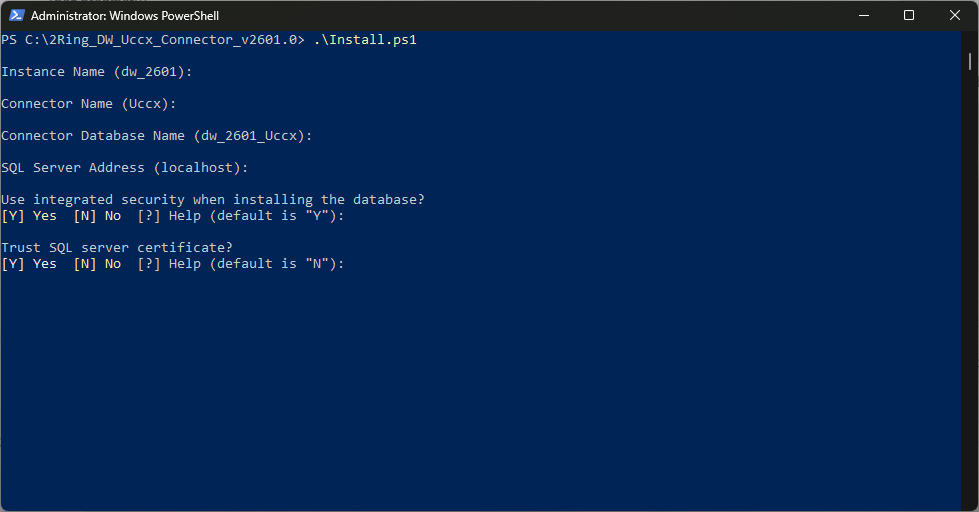
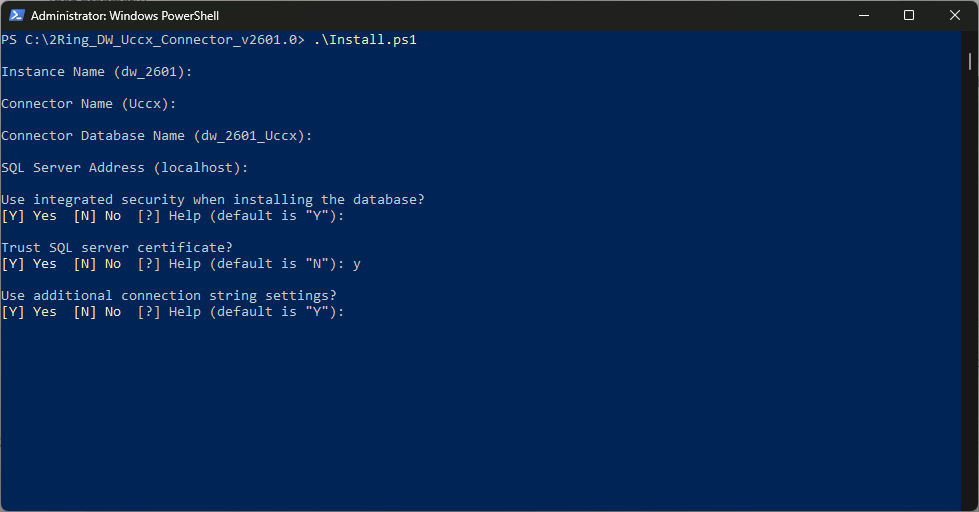
Choose whether to use an additional connection string settings for a database connection.
If “Yes” is chosen, define the additional connection string settings.
In case when a connector database does not exist yet, choose whether you want to install the database or skip this step.
In case when a connector database already exists, choose whether you want to upgrade the database or skip this step.The script automatically detects if the connector database exists. 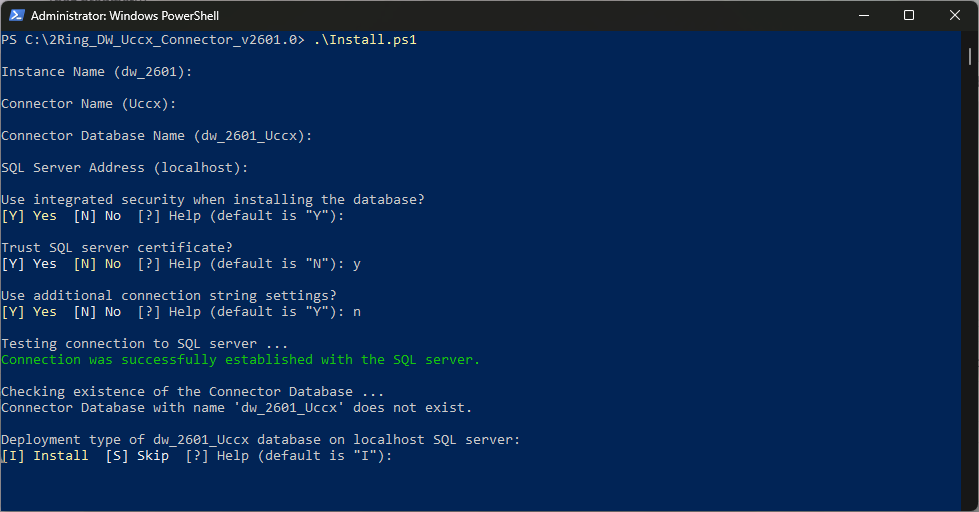
If “Install” is chosen:
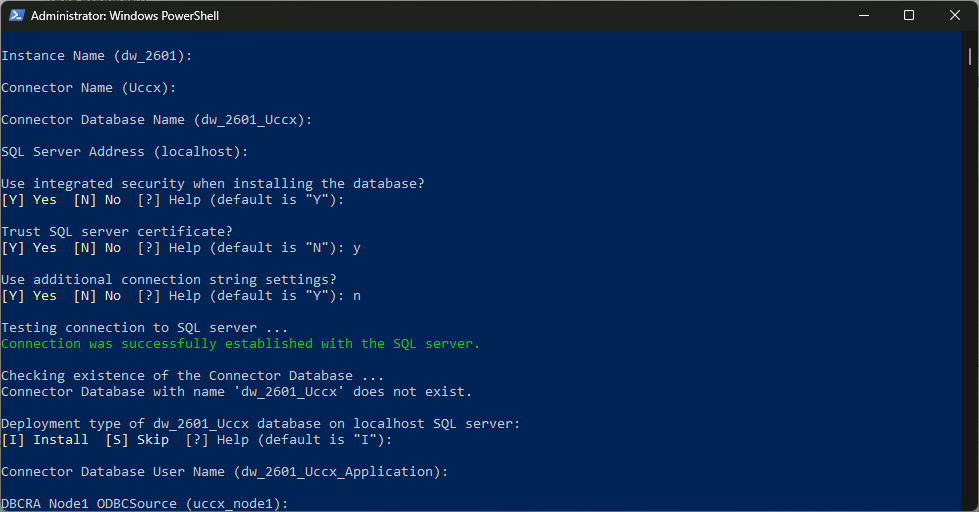
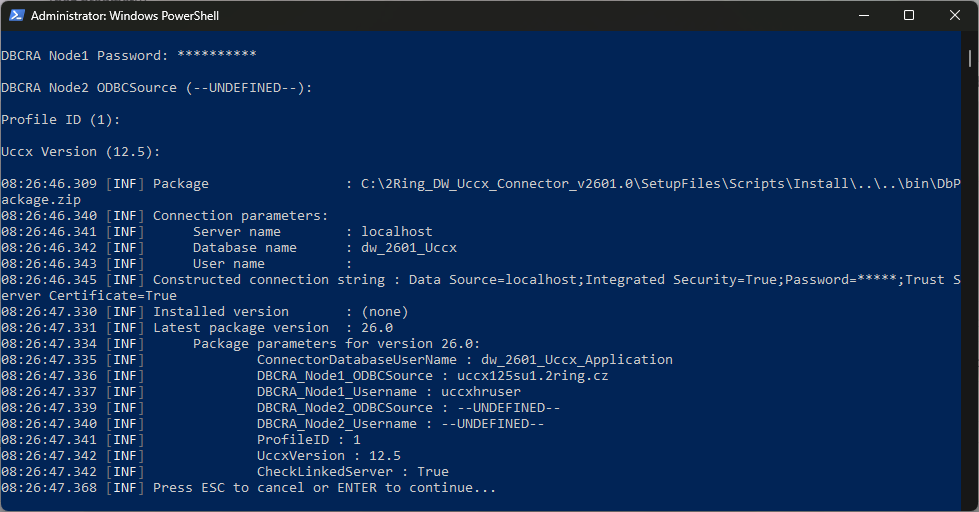
Enter a database user for the connector. This user is used by the connector to connect to database during runtime.
The password for the user is auto generated and will be listed in the installation summary after the connector is successfully installed. 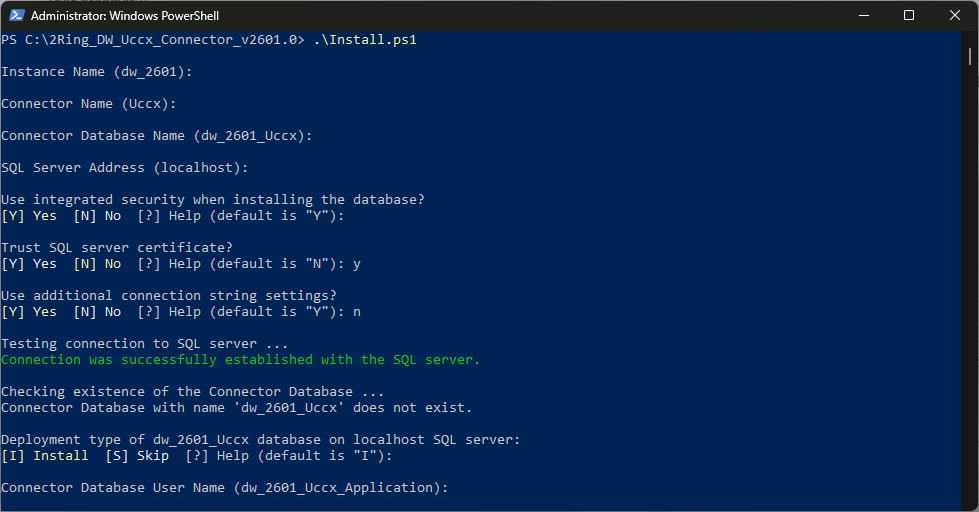
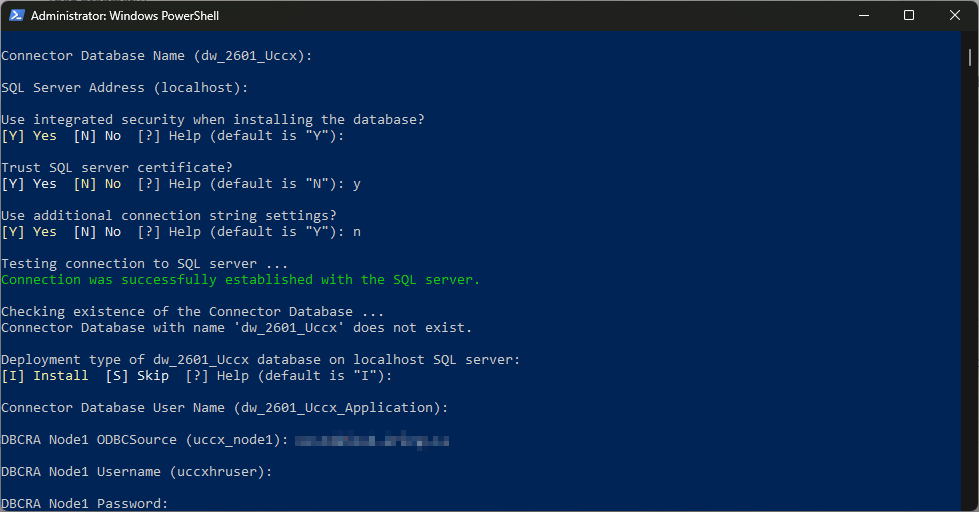
Enter the ODBC data source name for the primary UCCX server.
Enter the username of an Informix database user used to connect to the primary DB_CRA database.
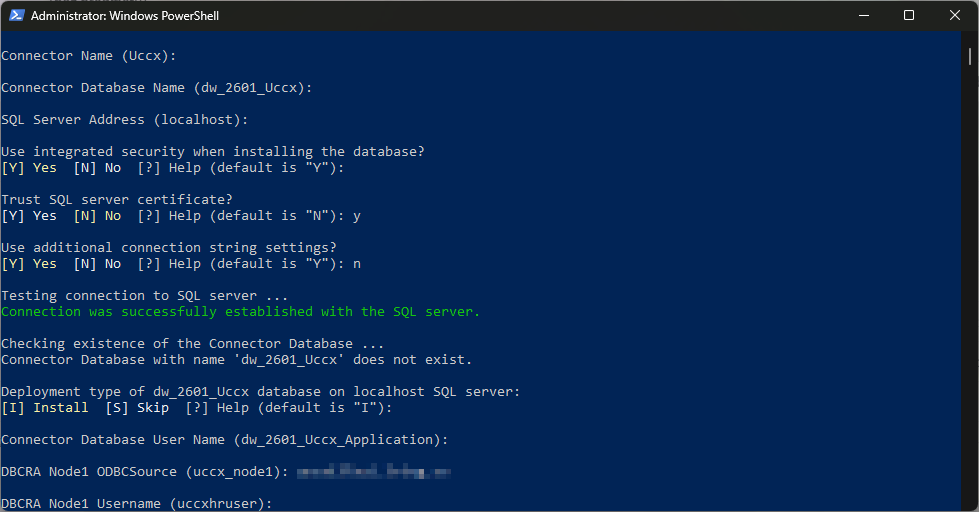
Enter the password of the Informix database user.
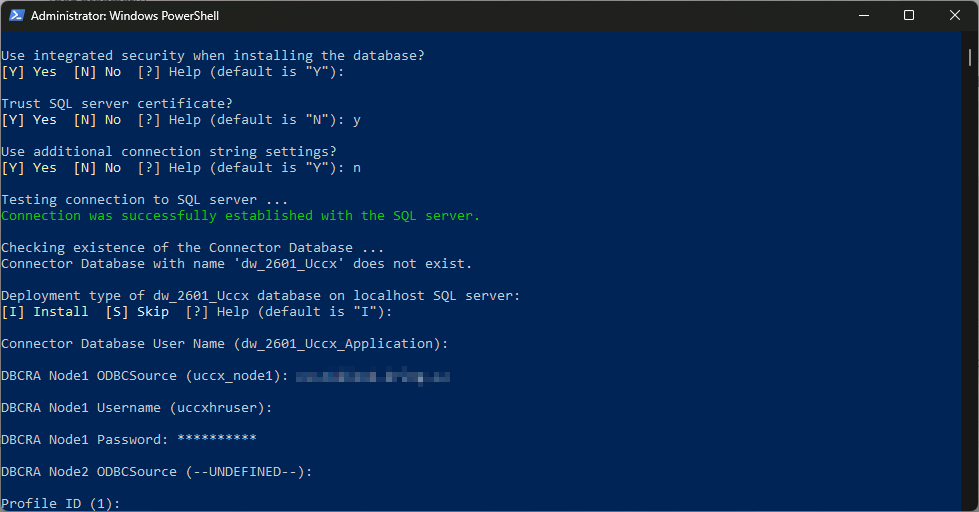
Enter the ODBC data source name for the secondary UCCX server.
If secondary server does not exist, use the default value of –UNDEFINED– If non-default value is entered:
Enter the username of an Informix database user used to connect to the secondary DB_CRA database.
Enter the password of the Informix database user.
Enter the ID of the profile in UCCX (in most cases it is 1).
Enter the version of the UCCX.
The version has to be in MAJOR.MINOR format. E.g. 11.5. 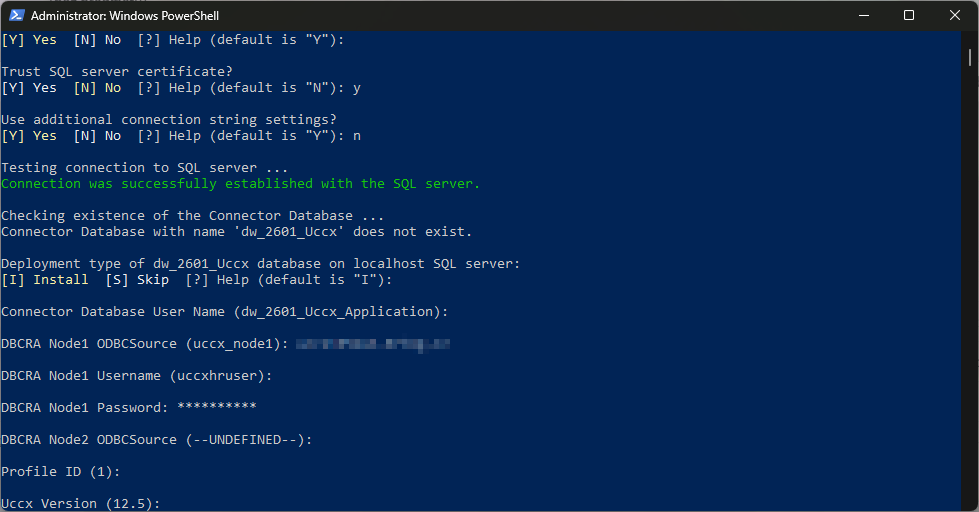
Confirm previously entered values by pressing Enter.
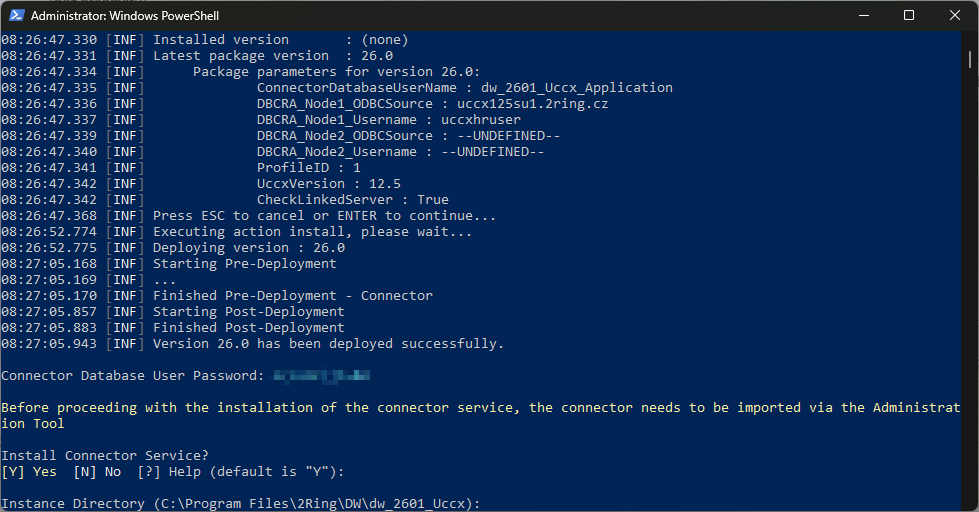
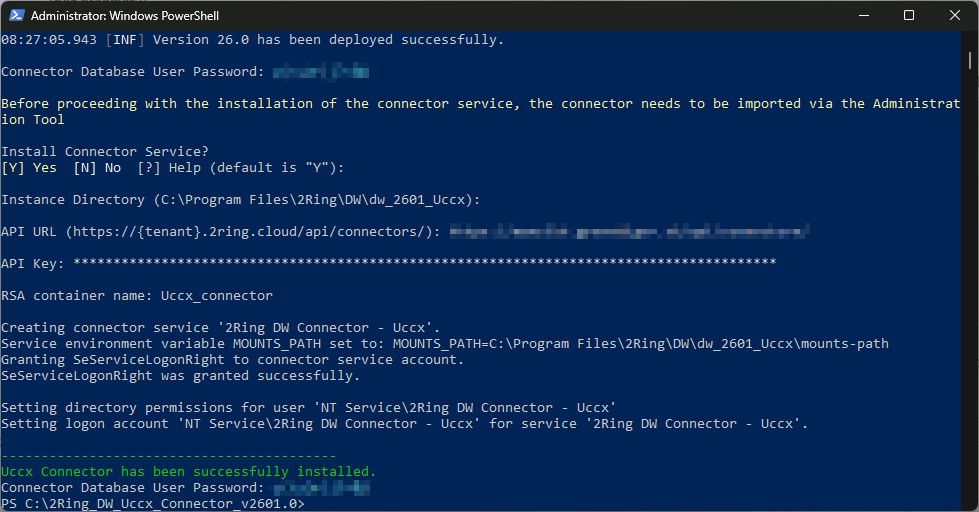
Choose whether a connector service should be installed.
Before proceeding with the installation of the connector service, the connector needs to be imported via the Administration Tool (see DW Administration Tool Guide -> Connectors -> Installation). Once the connector is successfully imported, fill in the Connector Settings. 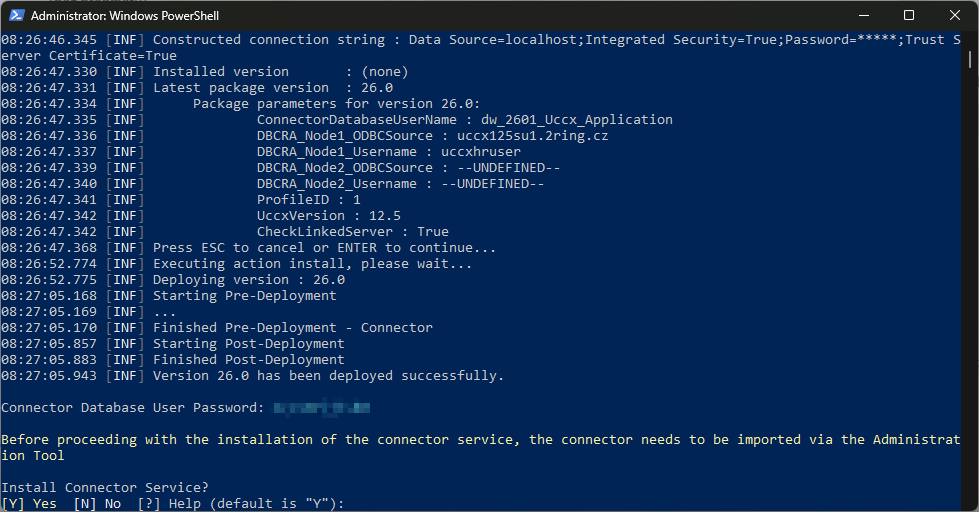
If “Yes” is chosen:
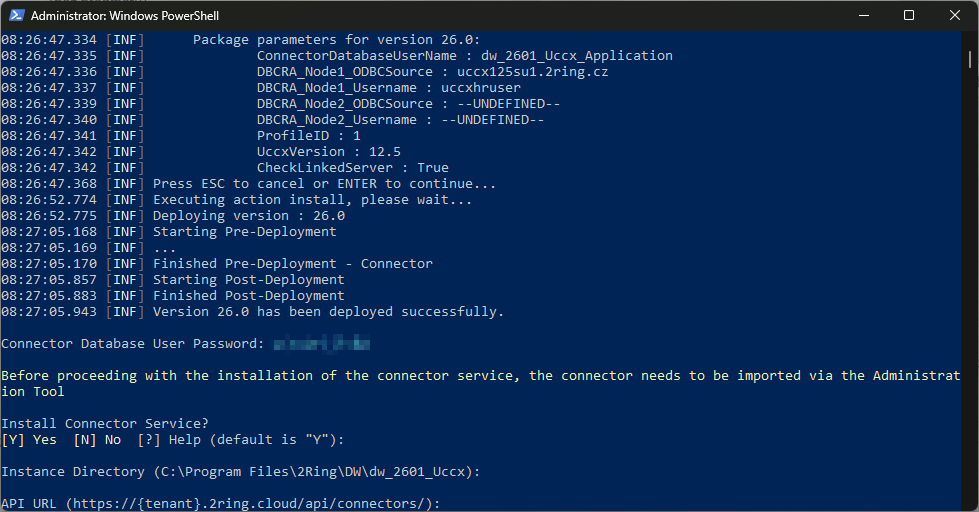
Enter the directory where the 2Ring DW application is installed.
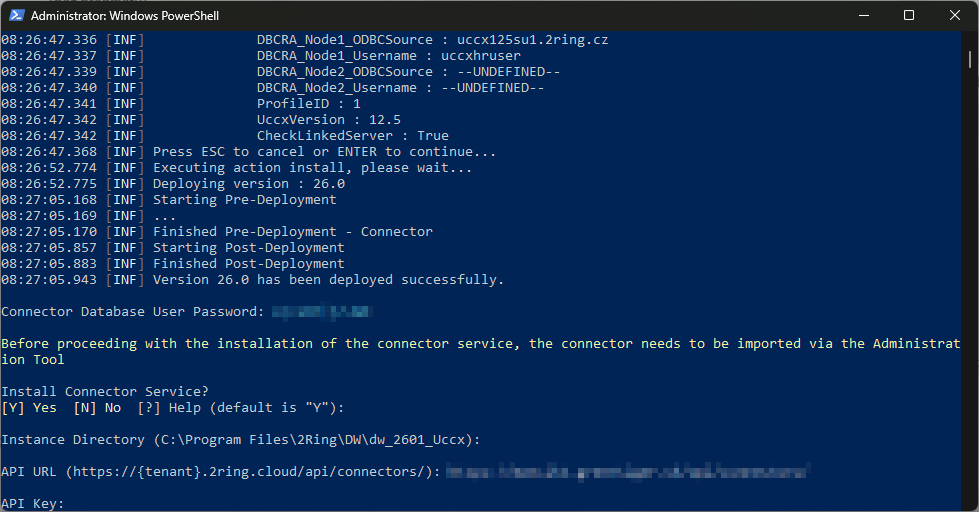
Enter the API URL of the 2Ring DW application instance.
Enter the API key of the 2Ring DW application instance.
UCCX connector Windows service has been successfully installed.
Post-Installation Steps
To ensure that Queue Real Time statistics display correct values, additional settings must be configured on the UCCX.
Navigate to UCCX Administration and under Tools, click Real Time Snapshot Config (see Figure 7)
The following properties must be set:
Data Writing Enable – true
Data Writing Interval – 5
Cisco Unified CCX CSQs Summary – true
Server Name – comma-separated list of Uccx IP addresses (e.g. 10.10.10.10, 10.10.11.10)
Click Update
Figure: Real Time Snapshot Configuration

Running connector via command prompt
The connector can also run via the command line. To run the connector in the command line, open it and navigate to the connector deploy folder and run the following command:
ConnectorHost.exe --connector=Uccx