Settings
When configuring an SSO integration, you need to set up a Connection that contains the necessary credentials and configuration details for the external identity provider.
Entra (OpenID Connect/SAML)
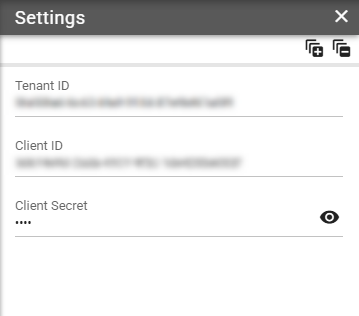
Tenant ID
ID of the tenant. Available in application details in Microsoft Azure Portal:
Client ID
Client ID of the tenant. Available in application details in Microsoft Azure Portal:
Client Secret
Client secret. It should be copied when creating a connected application in Microsoft Azure Portal, as the client secret appears only once for enhanced security.
Okta
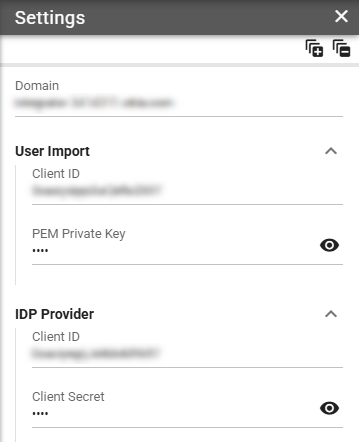
Domain
Domain of the tenant. Available in profile details in Okta: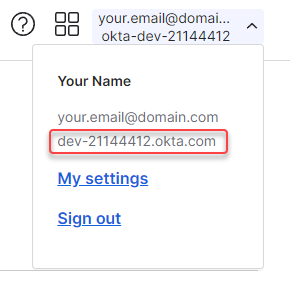
User Import
Fill in credentials obtained when creating 2Ring DW - User Import connected application in Okta.
Client ID
Client ID of the tenant. Available in application details in Okta: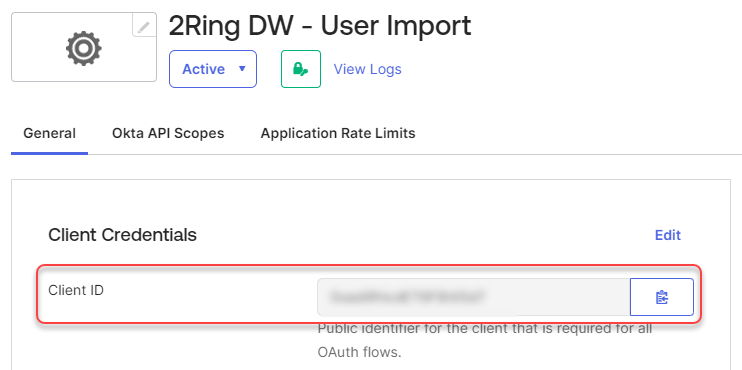
PEM Private Key
PEM Private Key. It should be copied when creating a connected application in Okta, as the PEM Private Key appears only once for enhanced security
IDP Provider
Fill in credentials obtained when creating 2Ring DW - Auth connected application in Okta.
Client ID
Client ID of the tenant. Available in application details in Okta:
Client Secret
Client secret. It should be copied when creating a connected application in Okta, as the client secret appears only once for enhanced security
Webex
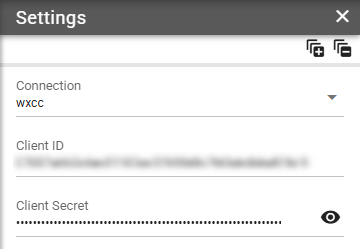
Client ID
Client ID of integration app configured in Webex Developer Portal: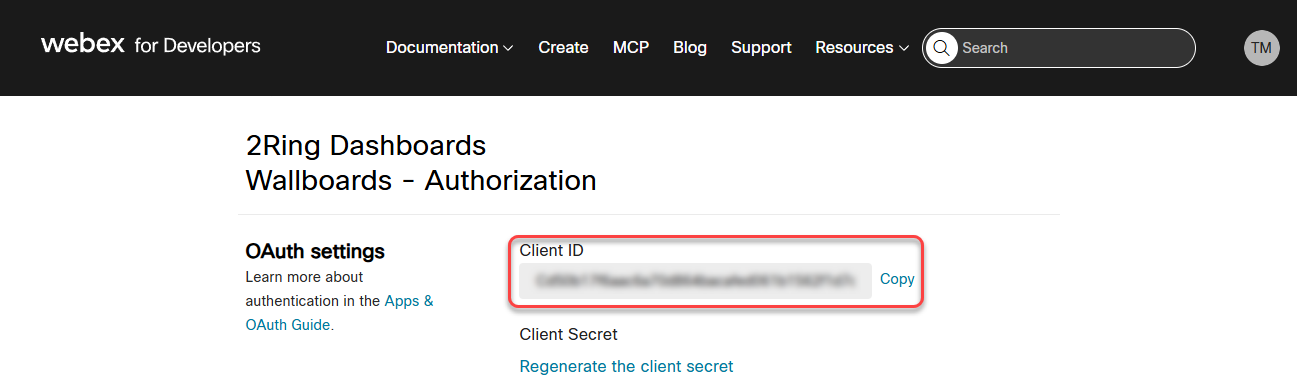
Client Secret
Client secret. It should be copied when creating an integration app in Webex Developer Portal, as the client secret appears only once for enhanced security.