Working with the Layout List
Related Videos
The Layout list displays all available Layouts and Widgets. Each Layout is represented by name and, if available, a description.
Figure 1: Layout list Controls:

Search box
Displayed Layouts can be filtered using the search box. When no search phrase is entered, all available Layouts are displayed. Otherwise only Layouts containing the entered phrase are displayed. The letter case is neglected. Pressing any key on the keyboard automatically starts typing into the search box.AI Assistant
Opens the AI Assistant window. For more information, see AI Assistant chapter.Create Layout
Available only for users with appropriate privileges.
Creates a new Layout.Create Widget
Available only for users with appropriate privileges.
Creates a new Widget.Delete
Available only for users with appropriate privileges.
Enabled when at least one Layout is selected.
Permanently deletes all selected Layouts.Copy
Available only for users with appropriate privileges.
Enabled when at least one Layout is selected.
Opens up a dialog where selected Layouts can be copied. For more info see Copying Layouts chapter.Export
Available only for users with appropriate privileges.
Enabled when at least one Layout is selected.
By clicking on the Export button, selected layout/widget is exported and downloaded as a json file. For more info see Exporting/Importing Layouts chapter.Import
Available only for users with appropriate privileges.
Exported layout/widget can be imported by clicking on the Import button. For more info see Exporting/Importing Layouts chapter.Show Widgets
Toggles the visibility of Widgets in the Layout list.Show Layout Warnings
Available only for users with appropriate privileges.
When Enabled labels of layouts/widgets that contains configuration warnings are colored orange.Share
Enabled only when a single Layout is selected.
Opens up a dialog with sharable links to the selected Layout.Update Banners
Available for Business Unit administrators, Tenant administrators and Message Authors only.
Opens up a dialog where multiple banners text can be updated. For more info see Update Banners chapter.Manage CSV Files
Available only for users with appropriate privileges.
By clicking on the Manage CSV Files button, CSV files can be uploaded or deleted and then selected as a source table in table valued calculations to provide static data. For more info see Upload CSV Files chapter.Manage Image Files
Available only for users with appropriate privileges.
By clicking on the Manage Image Files button, image files can be uploaded or deleted. For more info see Content Management chapter.Manage Audio Files
Available only for users with appropriate privileges.
By clicking on the Manage Audio Files button, audio files can be uploaded or deleted. For more info see Content Management chapter.Manage PDF Files
Available only for users with appropriate privileges.
By clicking on the Manage PDF Files button, PDF files can be uploaded or deleted. For more info see Content Management chapter.Refresh
Refreshes the content of the Layout list.Select/Deselect All
Add all Layouts to selection or removes all Layouts from selection if all are already selected.
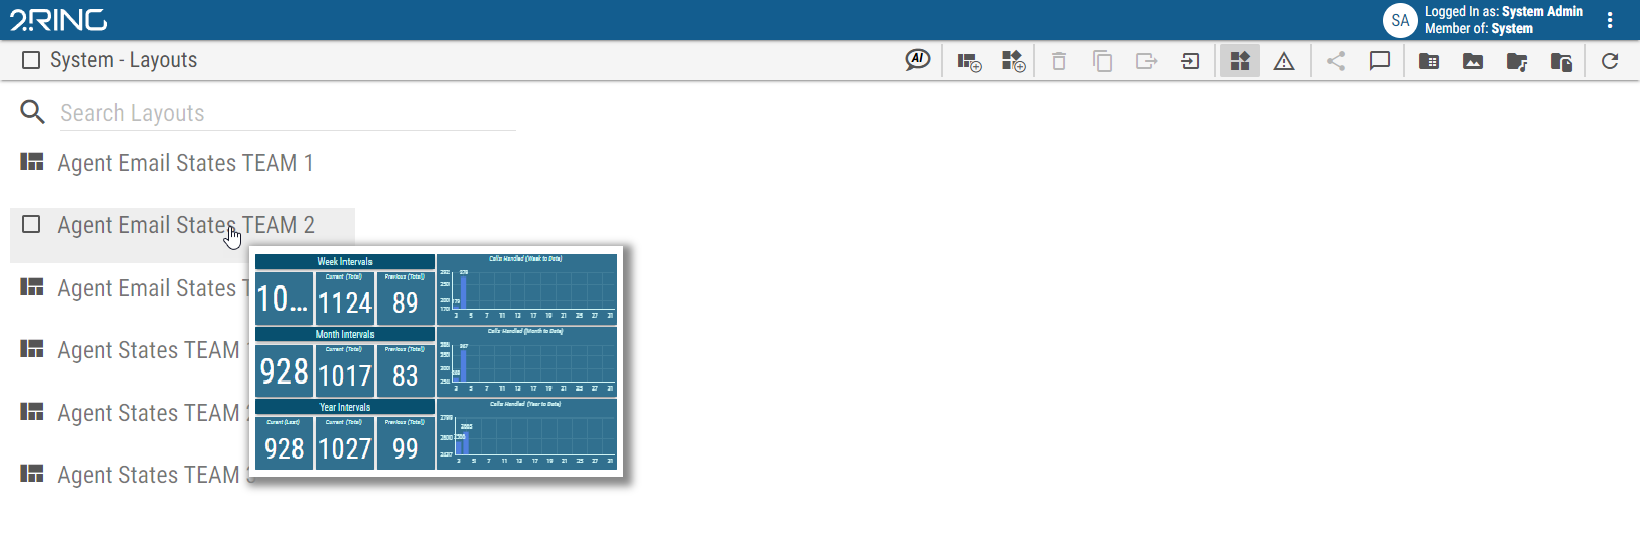
When hovering over the layout’s name, a preview of the layout is displayed.
Figure 2: Layout preview
If there is a draft version of the layout, the layout is marked with Draft chapter.
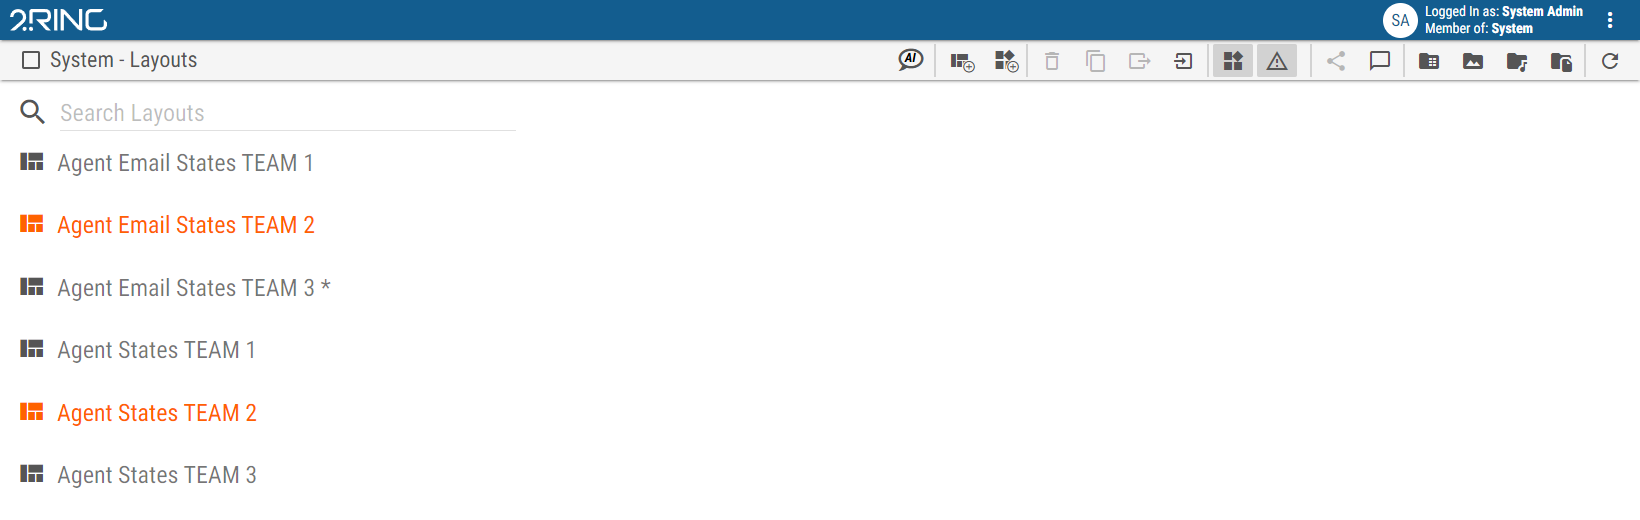
Figure 3: Layout list

If there are some Layouts, containing not properly configured segments, administrators can see them marked orange in the Layout list.
Figure 4: Layout list containing invalid Layouts
If user has privileges then a new Layout can be added by clicking the Create Layout button, located on the layout list controls bar. Clicking the button will redirect the user to the newly created Layout and open up its edit mode.
When hovering over a Layout with mouse cursor, its icon changes to a checkbox. Toggling this checkbox adds or removes the hovered Layout from selection. Multiple Layouts can be selected at once. Additional controls are available when one or more Layouts are selected.